Oracle is making great progress in the Cloud. One of the recently released Cloud Services is the
Application Builder Cloud Service (short: ABCS).
In this post I want to share my first impression in using ABCS for building modern web applications - responsive and optimized for mobile. For the backend I am using an exposed
REST Service through ADF Business Components.
Prerequisites
You have created a new ABCS application.
Start with creating Business Objects on REST Resources
First open the
Data Designer from the Hamburger-Menu. Choose
New Business Object > Select from external service. The following Wizard shows up
Choose "
Add Custom Services" and provide details to your REST resource. In this case a URL to the ADF REST Services descriptor is expected.
(For Authentication there are the following options: None, Basic, Oracle Cloud Account)
After submitting the form the REST service will be parsed. The containing resources are being shown in the next wizard step.
Select the "employee" resource and go to the next step to fine tune the naming, paths and child resources if available.
Go to the next screen to define so called
Business Objects. That means choose/define just the specific attributes from the REST Resource you want to use in your app. (kind of similiar to creating ADF Business components from Database table). For the chosen fields you can further adjust data types or define defaults for the UI, e.g. Label Name. (compared to ADF these are "UI hints")
Finishing this last step the Business Object(s) are all setup to start building the UI.
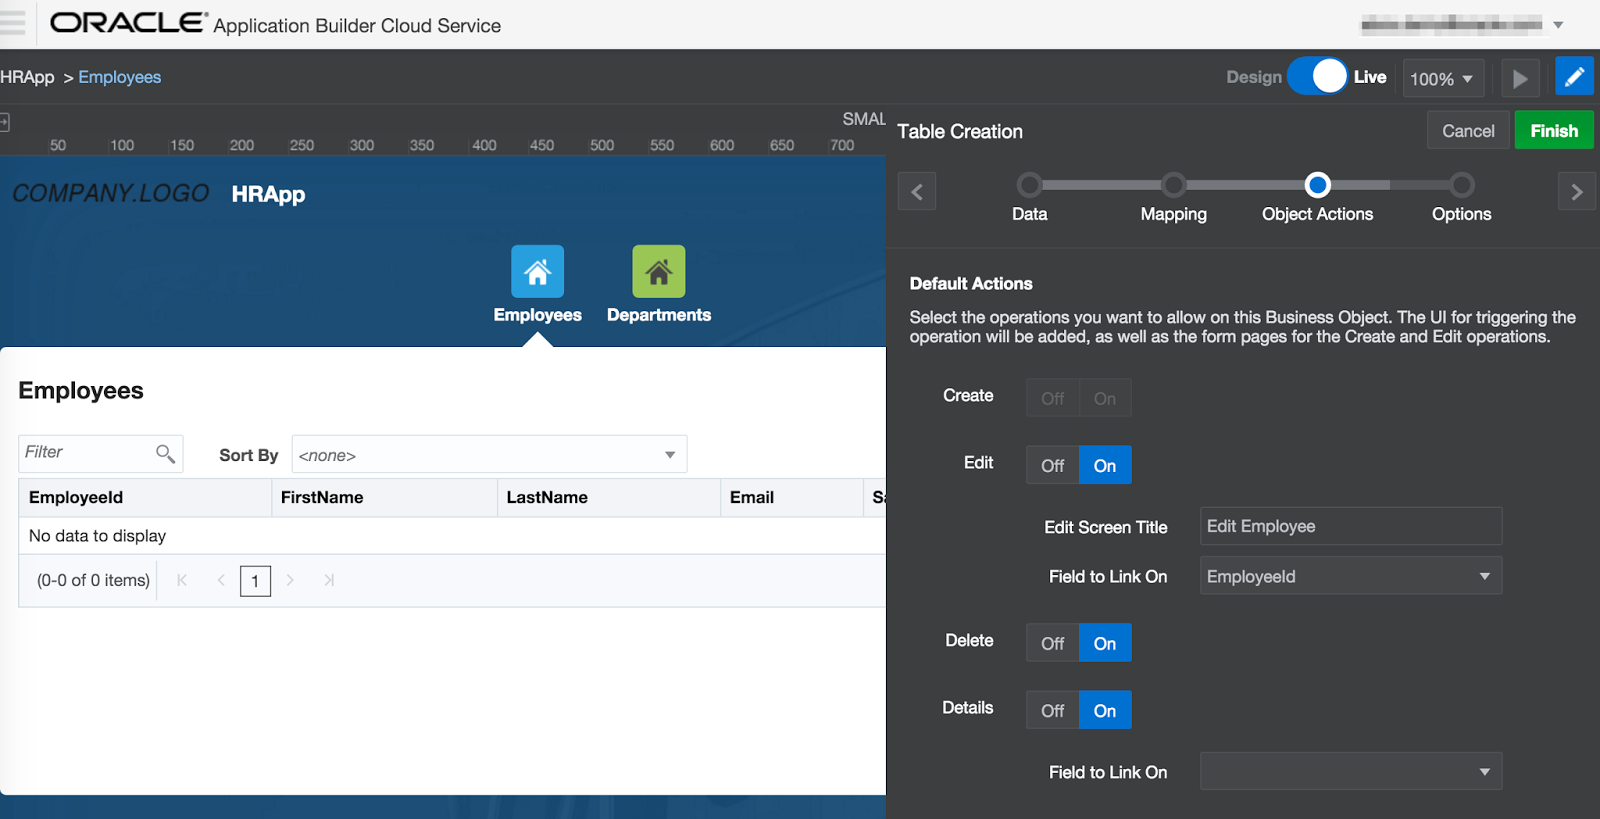
Create table from Business Object
From the Data Designer switch to the Page Designer. (I am assuming here a page employees is already created).
Select Table from the Components Palette and Drag And Drop on the Page canvas. On the right side the Table Creation starts. Choose Employee Business Object.
In the next step (
Mapping) select
fields you want to be used for the Table
Columns. This is done by DnD from
Available to
Selected Pane.
The table will be readonly. With just some configuration options like 'Create on/off', Edit 'on/off', Edit Screen Title, 'Delete on/off' etc. you can let ABCS generate corresponding actions and Screens. The is a great feature for many typical use cases!
On the last wizard step you might want to configure
Filtering, Sorting and further options like table summary for accessiblity.
Generated Edit form
As mentioned before when selecting to create the "Edit Action" ABCS generates the Edit form for you that you can further fine tune in terms of required fields, label positions, etc.
Conclusion
Oracle Application Builder Cloud Service feels like ADF for the cloud era. Having APIs as your backend (not coercively a DB) you model Business Objects which are the basis to wire the desired UI components.
The development experience is very smooth for basic UI development. For more advanced UI Logic custom JavaScript is needed. For reusable components
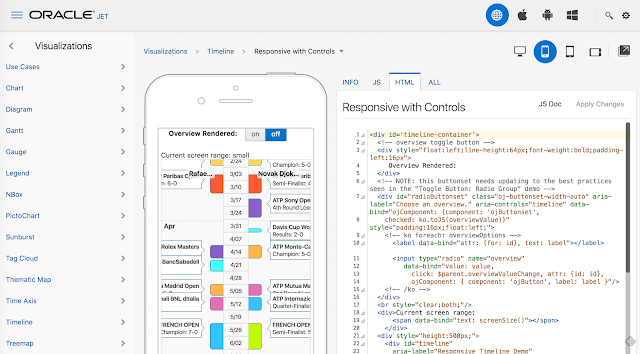
Oracle JET (
see blogpost) comes into play. All you need is a browser.
The resulting applications are being deployed with a push of a button on Test and Production Cloud Environments. Awesome!
Get Connected with the Community (Oracle JET and ABCS)
Be part of the
ABCS Community and follow the
ABCS Youtube Channel. Go to
https://cloud.oracle.com/ApplicationBuilder for a trial account to get started.
Further Information